
click to enlarge
An overlay is a transparent slide that overlays something over the screen. It has two main uses:
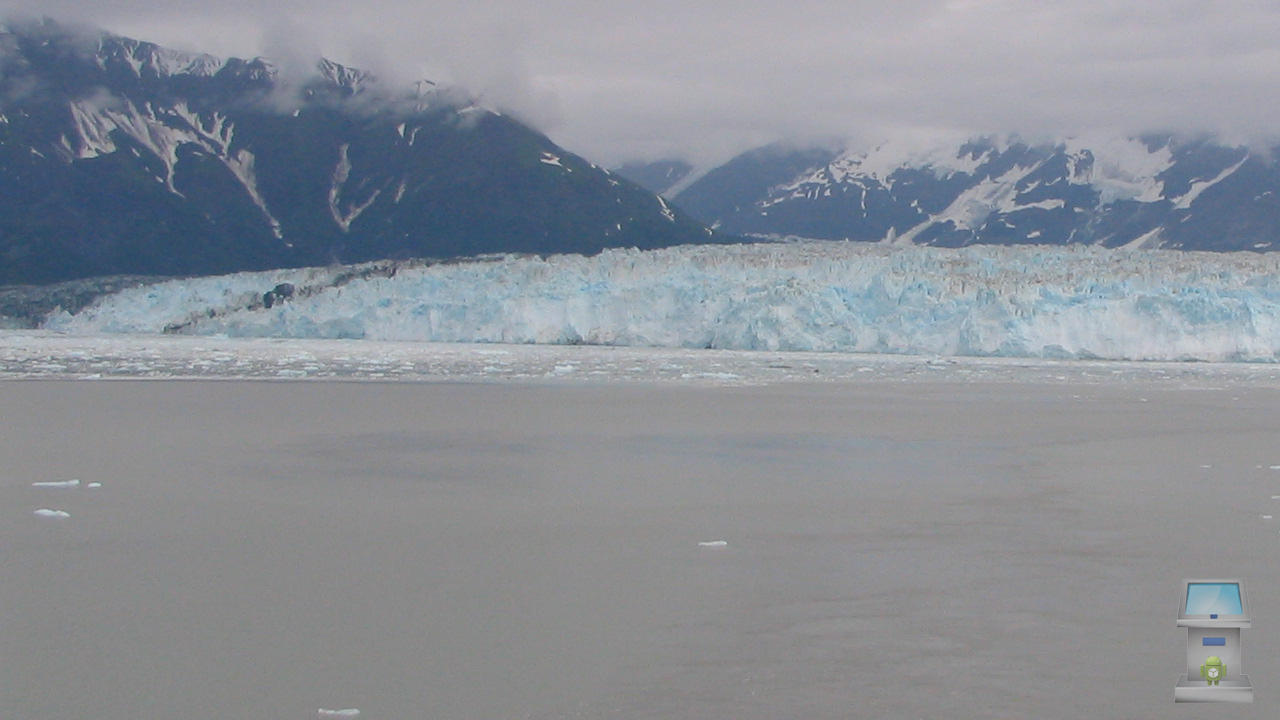
- An Overlay is often used to overlay the screen with a small digital graphic (aka a digital on-screen graphic, digitally origination graphic (DOG), bug, network bug), usually a logo in the corner of the screen. This used for brand identification, like this one in the bottom right-hand corner (Click the image to enlarge)
- An Overlay with the addition of hotspots is used to turn your device into an Interactive Touch Screen kiosk
How to use an Overlay File
Click to watch the video
Overlays are used to overlay a graphic over part of the display, often a company logo in the corner of the screen.
To use an Overlay, follow these steps:
- Create an overlay file
Create a PNG file with the same frame size as your display. For example, if you are using a 720p display, you would create a PNG file that is 1280×720 in size. Somewhere in the PNG file put your logo, or whatever content you want to use to overlay the video. (For step-by-step instructions, see the tutorial listed below.) - Move the overlay file onto the device or synchronize it using a cloud service.
- Video Kiosk assumes you’ve put the Overlay file in the Content Loop folder. If you’ve put it somewhere else, configure Video Kiosk with the location of the overlay file. Go to Video Kiosk Settings > Overlay > Path to Overlay folder and set the path to the overlay folder.
- Go to Video Kiosk Settings > Overlay > Overlay file and select the overlay to use.
- Optionally, if the overlay image is a different size than the screen dimensions you may want to adjust the scale type using Video Kiosk Settings > Overlay > Overlay image scale type
Video Kiosk will overlay your screen with the content of the overlay file.