
Click to watch the video
Install Video Kiosk
Time needed: 1 hour and 15 minutes
Video Kiosk is designed to be both easy to use and easy to install. To install Video Kiosk, follow these steps:
- Create a Video Kiosk Folder on the computer you will use to manage Video Kiosk.
On your computer, create a Video Kiosk folder. You’ll use this folder to contain your Media Files and any required Configuration Files which you’ll then move to your Video Kiosk device or devices.
The easiest way to create the folder is to download the Video Kiosk Media Sample Kit which contains a Video Kiosk Folder with sample media files already in it. All you need to do is move it to the Android device. Once you have Video Kiosk running, replace the sample media files with your media files.
(For Step-by-Step Instructions and more options, see below for details)
- Move the Video Kiosk Folder onto your Android Device
You can do this either
– over the Cloud using the Video Kiosk Remote Update Feature, or
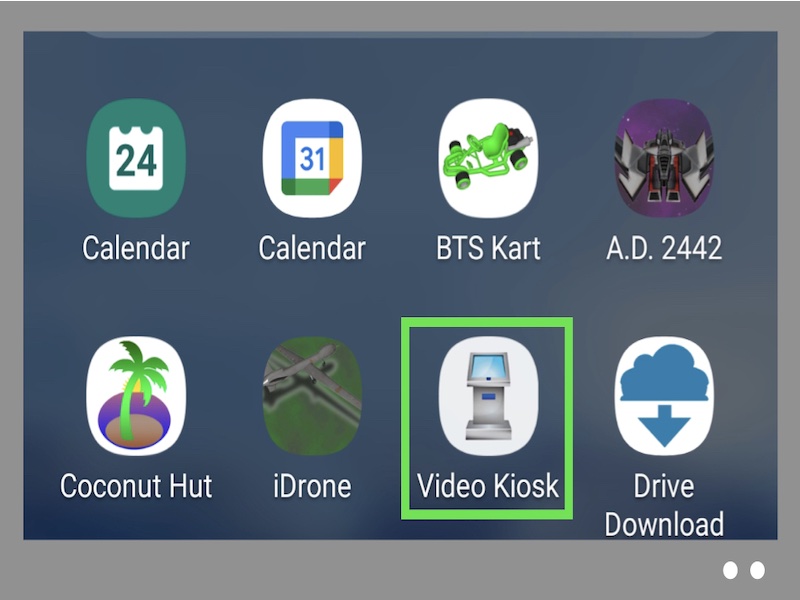
– with a USB Cable using Android File Transfer - Launch Video Kiosk
Video Kiosk will now play the Content Loop in the Media Folder, unattended. You can play videos, images and URL shortcuts, or any combination of the three.
Notes
How to create a Video Kiosk Folder
There are three ways to create the Video Kiosk Folder
Option 1 – Use the Media Sample Kit
We’ve created a Media Sample Kit for you which contains a Video Kiosk Folder and contains some sample media files. All you need to do is move it to the device. Once you have the sample playing, replace the sample media files with your media files.
- Download the Media Sample Kit from:
https://burningthumb.com/wp-content/uploads/video-kiosk-media-sample-pack.zip - Unzip it. Inside, you’ll find a “videokiosk” folder with the Standard Folder Layout.
- Move the videokiosk folder onto your Android Device
– using the Video Kiosk Remote Update Feature, or
– using Android File Transfer
Option 2 – Create the Folder on your computer
Create a Video Kiosk Folder on your computer and move your media and configuration files into it. Then move it to your Android device.
- On your computer, create a Video Kiosk Folder (videokiosk) using one of the three layouts. Move your media files to the appropriate folder.
- Move the videokiosk folder onto your Android Device
– using the Video Kiosk Remote Update Feature, or
– using Android File Transfer
Option 3 – Create the Folder Layout on your device
In addition, you can also create a folder on your Android device. Here are a couple of methods.
- You could create a folder using the Android File Manager (File Browser | File Explorer) on your device or using Video Kiosk. For instructions on how to use your Android File Manager, refer to the documentation for your device.
You can also create a folder using Video Kiosk. To do so, follow these instructions:
- Display the Video Kiosk Button Bar. To display the Button Bar, tap the screen, swipe down, swipe up, or press the down arrow on a controller or remote control.
- Pick the Folder Icon. This will display the Media Folder.
- Navigate to the location where you want to create the new folder and click the “Create Folder” button.
- Enter the folder name and click “Confirm”.
About Video Kiosk Folder Layouts
There are three ways to organize the files (media files and configuration files) you create when using Video Kiosk, the Standard Folder Layout, the One-Folder Layout and the Custom Folder Layout.
Option 1: Standard Folder Layout
When you are using all the features of Video Kiosk, you will have a number of Media files and Configuration files to manage, which may be cumbersome if they’re all in one folder. For this reason, we recommend you use the Standard Folder Layout below, putting the different file types in the different sub-folders. By adopting this structure from the very beginning of your project, you will find it easier to manage your Video Kiosk files as you add more features to your projects. In addition, if you use the Standard folder layout, there is no need to configure the settings with configuration file locations since Video Kiosk will automatically find files in these locations.
Note: The Media Sample Kit uses the Standard Folder Layout
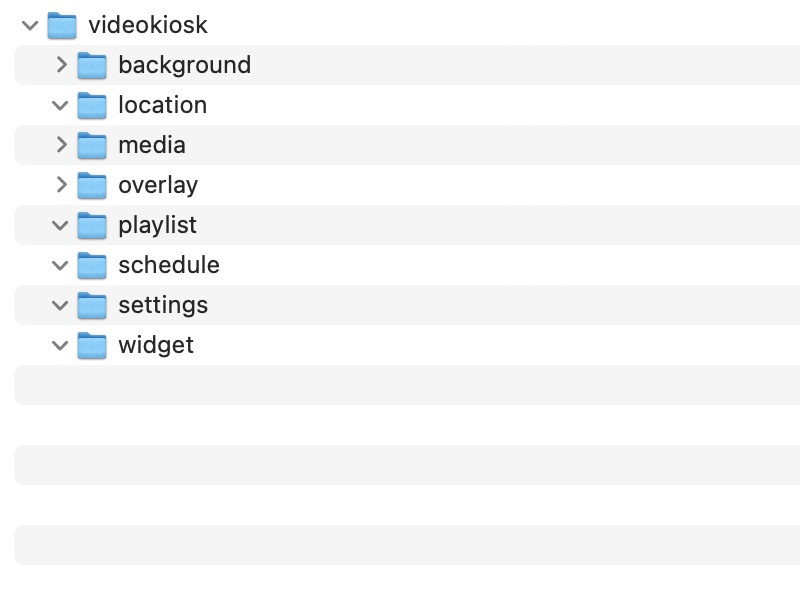
The Standard Folder Layout is:
/sdcard
/videokiosk
/background
/location
/media
/overlay
/playlist
/schedule
/settings
/widget
You’ll put your media files in /sdcard/videokiosk/media
Option 2: One Folder Layout
You could create a one folder layout instead. In this case, you put all your Media files and all your Configuration files in a single folder. We recommend you only use this layout when you have a very simple installation. For example, this layout would be fine when you only play a few slides or videos and don’t use configuration files to control backgrounds, overlays, schedules, playlists, etc.
The Standard Folder Layout is:
/sdcard
/videokiosk
You’ll put your media files in /sdcard/videokiosk
Option 3: Custom Folder layout
When you put the files in the default location, as above, Video Kiosk finds the files automatically. But, you can also create your own file layout for the Configuration Files. If you use your own layout, you’ll need to configures Video Kiosk with the location of your Video Kiosk Folder and with the location of any configuration files
For more information on how to do this, refer to the Video Kiosk User’s Manual.
About permissions
When you install Video Kiosk, you are prompted to grant the permissions that Video Kiosk requires.
When you first run Video Kiosk, you will also be prompted to grant some, of those same permissions again. If you deny permissions at run time, some of Video Kiosk’s features may be disabled.
For that reason, we recommend that you grant all of the permissions so that you don’t run into problems with features you have inadvertently disabled by denying the run time permission request.
Configuring Video Kiosk
Once you’ve got Video Kiosk installed and running, you might want to explore the many features available. Video Kiosk offers many additional features which you can use to enhance the reliability, usability and management of your Video Kiosk.
- For more about the Settings, see About the Settings
- For detailed information about options, refer to the Video Kiosk User’s Manual.